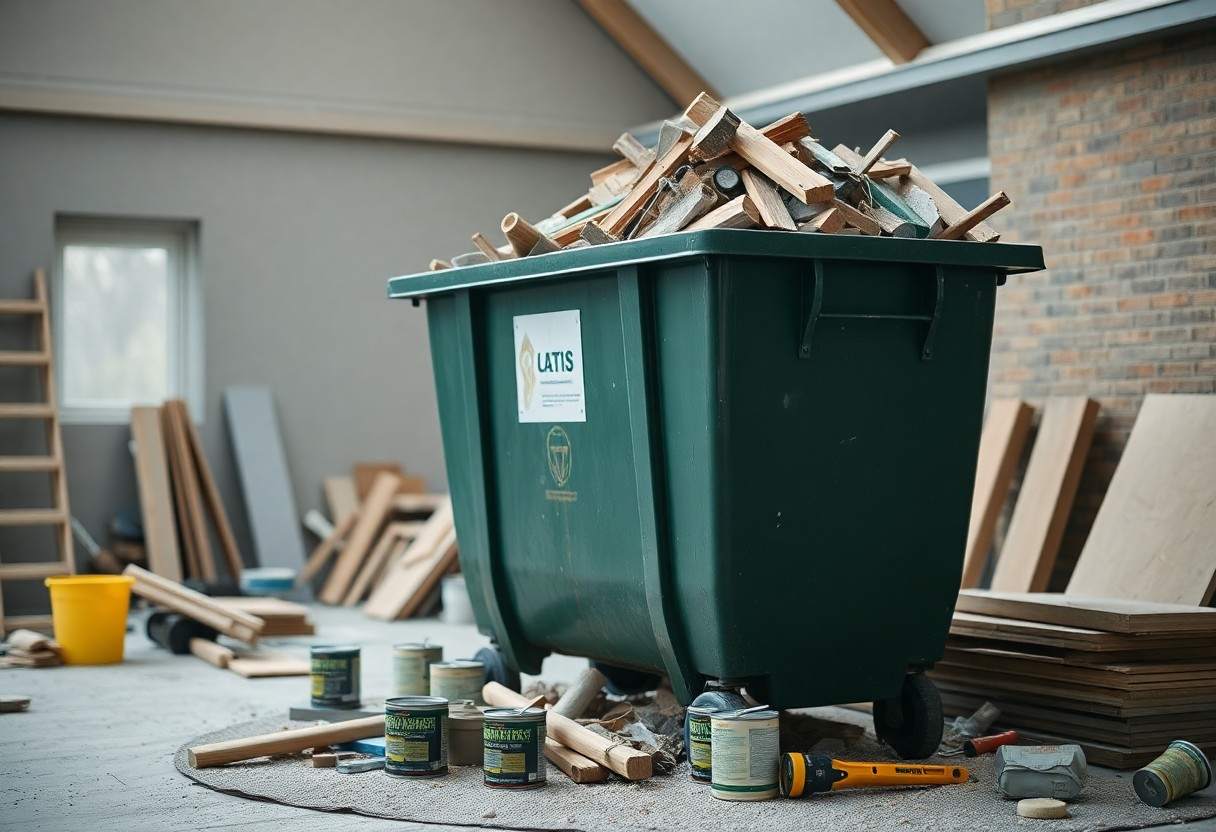
Effective clean-up is imperative during your home renovation project, and using a skip can simplify this process significantly. By hiring a skip, you can safely dispose of excess materials, rubbish, and debris, keeping your workspace neat and organised. It’s important to choose the right size skip to accommodate your waste while adhering to local regulations. Additionally, ensure you load your skip correctly to avoid hazards and maximise space. This guide will provide you with all the necessary steps to ensure a streamlined clean-up experience for your renovation.
Understanding Skip Bins
A skip bin is an necessary component for managing waste during any home renovation project. These large containers provide a convenient and effective way to dispose of a variety of materials, ensuring that your renovation space stays organised and clutter-free.
What is a Skip Bin?
With various sizes available, a skip bin is a large, open container designed for loading onto a special type of lorry. Users can fill it with unwanted items and materials, making it an ideal solution for disposing of waste generated from home renovations.
Benefits of Using a Skip for Renovation Clean-Up
If you’re considering a renovation, using a skip can significantly ease your waste management process. It simplifies disposal while keeping your space safe and sanitary, which is especially important when working with potentially hazardous materials.
Another advantage of using a skip for your renovation clean-up is that it saves you time and effort. By having a central point for waste disposal, you avoid multiple trips to the tip, allowing you to focus on your project. Additionally, using a skip can lead to improved safety on-site by reducing the risk of accidents caused by debris and clutter. Moreover, many skips can hold a considerable amount of waste, accommodating large volumes of materials such as construction debris or old furniture, ultimately making your renovation process more efficient and manageable.
Choosing the Right Skip Size
Assuming you’re planning a home renovation, selecting the proper skip size is imperative for an efficient clean-up. A well-chosen skip will save you time and money while ensuring your waste is disposed of correctly. Consider the amount of waste you expect to generate, as well as the type of materials you will be discarding.
Factors to Consider
Choosing the right size involves assessing a few key factors:
- Your project type and scale
- The volume of waste expected
- Type of materials that need disposal
- Your available space for the skip
- Local regulations on skip placement
Knowing these factors will lead you to the perfect skip for your needs.
Common Sizes and Their Uses
If you’re unsure about skip sizes, various options cater to different needs. A mini skip (2-3 cubic yards) is ideal for small clean-ups, while a midi skip (4-5 cubic yards) suits bathroom and kitchen renovations. For larger projects, a builder’s skip (6-8 cubic yards) is commonly used, and a large skip (10-16 cubic yards) can handle substantial waste from extensive renovations or garden clearances.
Another significant aspect to consider is how much waste you can generate during your renovation. A mini skip is perfect for small DIY projects, but as you undertake larger tasks, it may not accommodate all the debris. For extensive remodels, opting for a builder’s skip ensures you can dispose of excess materials like wood, plasterboard, and garden waste effectively. Understanding these sizes will aid you in selecting the right one, maximising efficiency in your clean-up.
How to Prepare for Your Skip Delivery
You need to prepare adequately for your skip delivery to ensure a smooth process. Make sure you have a designated area for the skip that complies with local regulations. For more insight, check out The Benefits of Using Skip Hire for Your Home Renovation … to understand how hiring a skip can benefit your renovation work.
Site Assessment
There’s no substitute for a thorough site assessment. Evaluate the area where the skip will be placed, checking for overhead obstructions, uneven ground, or any potential hazards that may hinder delivery or collection.
Clear Access for Delivery
On delivery day, clear access to your skip is important. Ensure that there’s a wide path leading to the designated spot without any obstacles.
Site access should be clear of any vehicles, debris, or overgrown vegetation. This not only makes it safer for the delivery team but also ensures that the skip can be placed in the best location for your renovation clean-up. Any blockages can lead to delays and might require the delivery team to rethink their approach, which could impact your schedule and cause unnecessary frustration.
Tips for Effective Waste Disposal
All renovations generate waste, so effective disposal is key to a smooth clean-up. To manage this, consider the following tips:
- Separate recyclables from general waste.
- Be mindful of hazardous materials.
- Plan your skip hire around your project timeline.
- Communicate with your skip hire company for special requirements.
The more organised you are, the less stressful your renovation will be.
Sorting Materials
Assuming you want to streamline your clean-up process, sorting materials beforehand will save you time and effort. Designate separate areas for recyclables, general waste, and hazardous materials. By classifying your waste, you make it easier to dispose of responsibly and efficiently, leading to a more sustainable renovation.
Proper Disposal Methods
Disposal of waste requires careful consideration to ensure you adhere to local regulations. The appropriate methods include using your skip for non-hazardous waste, recycling eligible materials, and finding dedicated points for hazardous waste like paint and chemicals. Always check your local council’s guidelines to avoid fines.
The disposal of your waste not only affects your project’s efficiency but also its environmental impact. You should aim to reduce landfill waste by maximising recycling and using responsible disposal methods. Hazardous materials require special attention as improper disposal can lead to serious risks for you and the environment. By prioritising safety and sustainability, you contribute to a cleaner community while making your renovation as smooth as possible.

Loading Your Skip Efficiently
After securing your skip, it’s imperative to load it efficiently for optimal use. Start by breaking down larger items and layering smaller debris on top to maximise space. Easy Clean-up Tips for Using Skip Bins: Post-Hire Tidying Hacks can guide you through this process, ensuring every inch of your skip is put to good use while keeping your clean-up manageable.
Best Practices for Loading
Efficiently loading your skip involves strategic placement of items. Start by placing heavy items at the bottom, followed by medium-weight pieces, and finish with lighter materials on top. This method not only optimises space but also ensures the skip is easier to handle.
Weight Distribution Considerations
Weight distribution is vital to avoid potential tipping during transport. Ensure heavier items are evenly spread across the base while lighter objects are securely positioned on top. This strategy not only keeps your skip stable but also preserves its structural integrity and reduces the risk of spills or accidents.
A well-balanced skip is important for safe disposal. Proper weight distribution prevents overloading one side, which can lead to instability and possible hazard when it is picked up. Loading heavier materials like bricks or concrete at the lower part and lighter items on top helps maintain an even centre of gravity. Ensure that the skip is not overflowing, as this can lead to fines and an unsafe pick-up situation.

Arranging for Collection and Disposal
For a seamless clean-up after your home renovation, it’s necessary to coordinate the collection and disposal of your skip. Consult The Ultimate Guide to Skip Bin Hire for Your Home Renovation to understand the best practices for scheduling your skip’s pick-up and ensuring responsible waste disposal. Confirm the collection date with your hired service to avoid unnecessary delays and additional charges.
Scheduling Pick-Up
On deciding the right time for your skip’s pick-up, consider how long you’ll need it for your project. Schedule the collection shortly after completing the renovation to prevent any accumulation of extra waste. This not only keeps your space neat but also saves you money on rental fees.
Understanding Waste Management Regulations
Waste management regulations dictate how you should handle the disposal of your renovation debris. Ensure you’re aware of these regulations to avoid hefty fines and legal issues. Specific materials, such as hazardous waste, may require special treatment or cannot be disposed of in standard skips, indicating the importance of proper planning.
Scheduling a pick-up while understanding the waste management regulations is vital for maintaining compliance and ensuring safety. Familiarise yourself with local laws regarding construction waste disposal, as failure to comply can result in penalties. Knowing what you can and cannot dispose of in your skip will streamline your clean-up and prevent complications. It’s beneficial to consult your skip hire service regarding any specific regulations that apply in your area.
To wrap up
Now that you understand how to effectively use a skip for your home renovation clean-up, you can streamline the process and manage waste efficiently. Begin by selecting the appropriate skip size based on your project needs, ensuring it’s placed in a convenient location for easy access. Familiarise yourself with the types of materials accepted, and avoid overfilling to maintain compliance. By planning ahead and adhering to regulations, you can make your renovation a smoother and more organised experience.
FAQ
Q: What size skip do I need for my home renovation clean-up?
A: The size of the skip you need will depend on the amount and type of waste you anticipate generating. For small projects, such as minor bathroom upgrades, a 4-yard skip may suffice. For larger renovations, like a kitchen overhaul or extensive landscaping, consider a 6 to 8-yard skip. If you’re uncertain, it’s often helpful to consult with the skip rental company for advice based on your particular project.
Q: How long can I keep the skip for my renovation project?
A: Most skip rental companies allow a hire period ranging from a few days to a couple of weeks, depending on your needs and their policies. It’s always best to clarify the rental duration when placing your order, and be mindful of any potential additional fees for extended hire if your project takes longer than expected.
Q: What types of waste can I put in a skip?
A: Skips are generally suitable for construction and renovation waste, including old fittings, plasterboard, wood, and metal scraps. However, certain items like hazardous materials (asbestos, chemicals), electrical appliances, and tyres are typically prohibited. Be sure to check with your skip rental provider for a specific list of acceptable items to ensure compliance and safety.
Q: Do I need a permit to place a skip on the road outside my house?
A: If you plan to position the skip on private property, such as your driveway, you likely won’t need a permit. However, if the skip will be placed on a public road, you will need to obtain a permit from your local council. The skip rental company can often assist with this process and can advise on any fees or requirements involved.
Q: How should I load the skip to maximise space and efficiency?
A: To optimise space within the skip, start by breaking down larger items into smaller pieces whenever possible. Place heavier materials at the bottom and towards the centre, stacking lighter items on top. Aim to fill the skip as full as permitted without exceeding the rim, as this will ensure a safer and more efficient load when it is collected. Additionally, avoid putting any waste that can get caught in the wind, like plastic sheeting, at the top.


